 Non-Linear Animation
Using the Non-Linear Animation tool, abbreviated as NLA, you can edit animation clips the same way you would edit video clips in a non-linear editing software (NLE) like Adobe Premiere or Avid Media Composer for example, but right into After Effects, keeping all your animation editable at any time.
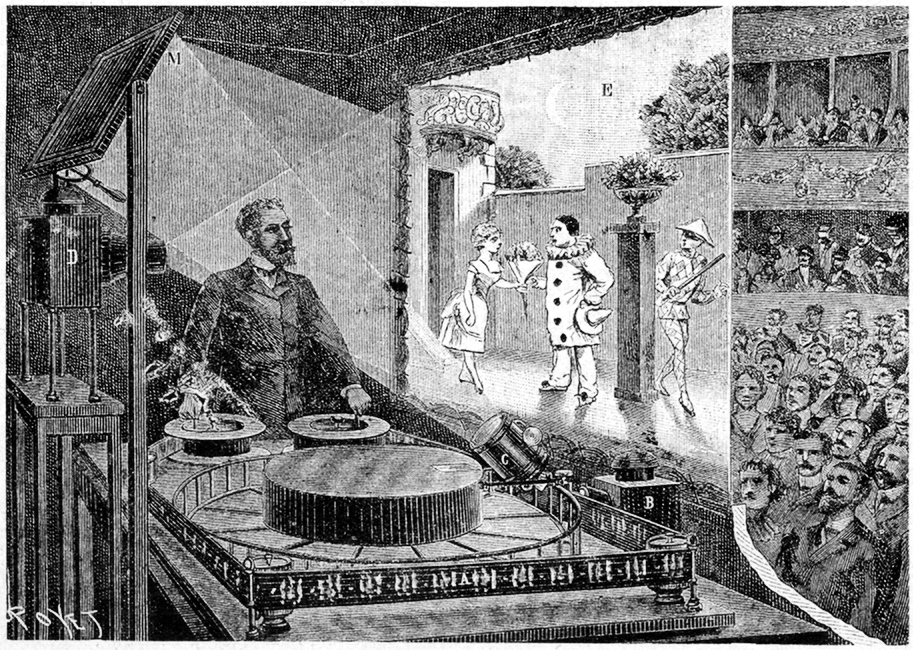
First public performance of Reynaud’s ‘Theatre Optique’ in Paris,
Louis Poyet, 1892
Public domain.
Not only the NLA can edit your animations together, but it also can actually transition between animations as simply as a crossfade effect, by animating simple opacity values.
This video is part of the official comprehensive video course about Duik Ángela

Usage
To use the NLA, you need to start from a base composition, containing what you wish to animate, which can be anything: simple layers, rigged character, props, using or not using Duik Controllers.
This video is part of the official comprehensive video course about Duik Ángela

Creation
Like other tools in Duik, you first have to select what you’re rigging/animating and then click on the Non-linear Animation button. Depending on the selection, this is how Duik will create and rig the NLA using the active composition:
- If Duik finds any selected properties, it will rig them, and only them.
- Else, if Duik finds any selected layers, it will rig all transform properties (position, rotation, scale, opacity) of these layers, plus the effects if the layer is a Duik Controller.
- Else, Duik will rig all transform properties and effects of all Duik Controllers, if any.
- Finally, if Duik did not find anything else, it will rig all transform properties of all layers.
Note
The current values (e.g. the current pose of the character) will be the “neutral” values, the “rest” pose. They are the values from which the animation will be generated, and to which the NLA will fall back if there’s no animation.
Duik then creates a few NLA Compositions.
By default, without selection, the NLA rigs all transform properties of the Duik controller layers.
From a single base composition:
the NLA creates a folder containing four new compositions:
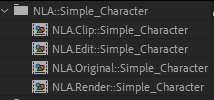
These compositions are:
- NLA.Clip::name: Clips are the compositions containing the actual animated clips; they’re where you animate the layers, using either keyframes or expressions. There can be as many NLA.Clip compositions as you need. You can quickly create new clips from the NLA options in the Duik Animation panel.
- NLA.Edit::name: Edit** is the composition where you can edit your animated clips together.
- NLA.Original::name is a copy of the original composition. It is used to create new clips.
- NLA.Render::name is the composition containing the result of the edit, i.e. the clips edited together with their transitions. It is the composition which may be rendered or used as a precompositions in other parts of the project.
Warning
Do not change the first part of the name of these compositions (before and including ::) as it is used by Duik and the NLA expressions to identify these compositions. The rest, the end of the name, can be safely modified at any time.
Animated clips (NLA.Clip::)
The actual animations are made in the NLA.Clip:: compositions. Open these compositions and animate your layers as you would in any other composition. You can use either keyframes, expressions or any Duik feature, the NLA will work with all animated values no matter how they’re controlled.
To create new clips, you can either duplicate an existing clip (to work from the existing animation) or use the Add new clip button in the NLA options in the Duik Animation panel. This button will create a new clip for the NLA corresponding to the active composition (it doesn’t matter which one it is as long as it belongs the the NLA, i.e. its name starts with “NLA.”).
You can - and it is recommended to - change the duration of the “NLA.Clip::” compositions, so they fit the exact duration of the animation.
Edit clips together
To edit the clips together and benefit from the powerful NLA features, open the NLA.Edit:: composition.

From this comp, you can edit the clips together as you would with video clips in a video editing software. You can trim, move, duplicate the clips.
To work with the edit:
- The NLA.Clip:: precompositions must be hidden. They’re used by the NLA to generate the animation, but they’re not actually used for rendering.
- The result is rendered in the NLA.Render:: composition. That’s the reason why you should keep it enabled as the first layer of the NLA.Edit:: composition; this is the way to see the result of the edit, in real time.
- At times when there are no clips in the timeline (or if all their opacity is at
0 %), the NLA falls back to the original values as they were before the creation of the NLA.
Adding other properties to the NLA
According to the way you’ve setup the NLA, you may want to add other properties to be animated and rigged by the NLA. There are two simple ways to do that:
First, open the NLA.Render:: composition. Then, you can either:
- Copy and paste the NLA expression from any property to the property you wish to add.
- Or select the new properties, and click on the Non-Linear animation button in the Animation Panel of Duik.
Looping animation and time remapping
You can use and modify the time remap property of the NLA.Clip:: precompositions in the NLA.Edit:: composition. This is a nice and easy way to change the speed of the animation, or to loop them, either using time remap keyframes, expressions or the Duik Looper feature.
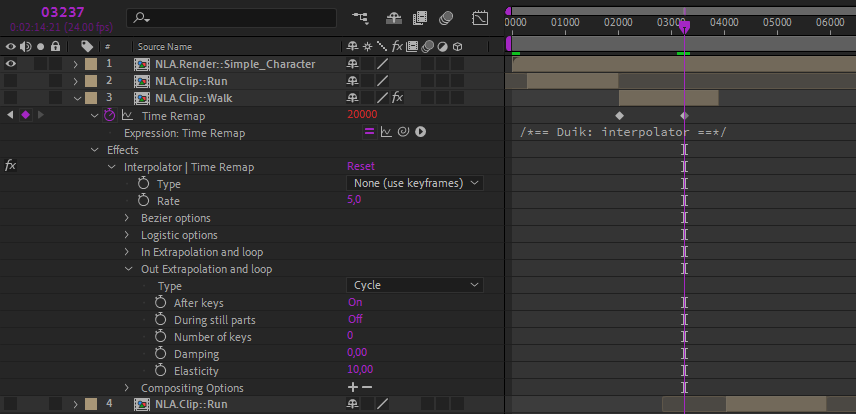
Transition between animation
Animations can be controlled using the opacity of the the NLA.Clip:: precompositions. 100 % plays the animation as it is, 0 % deactivates it, and values in between multiply the values, effectively weighting the animations. This can especially be used to animate transitions between clips, for example to transition between a standing pose and a walk cycle, and then from a walk cycle to a run cycle. This works exactly as if you were animating a crossfade between video clips, except that the NLA doesn’t actually animates the opacity but really animates the transition of all animated properties between the animated clips.
![]()
Tip
An NLA::Weight slider is also added in the effects of the NLA.Clip:: precompositions, which controls the weight the same way as the opacity of the layer, except that it’s not limited to the range [0 %, 100 %]. You can use this slider instead of the opacity if you wish to extrapolate the animation.
Use or render the result
You can use either the NLA.Edit:: or the NLA.Render:: compositions to include the edited animation inside other compositions or to render it.
