 Bones
Bones
Bones are a very simple yet extremely useful tool. They are layers used to control any spatial property or Bézier shape.
Creation
- Select the properties
-
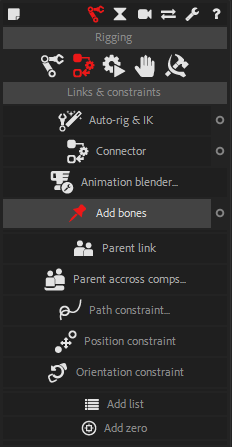
- Click on the Bones button
- Maintaining the
Altkey will pick a random color for the new bones - Maintaining the
Ctrlkey will ignore the tangents when creating bones on Bézier paths
Hint
You can remove bone layers and recreate them at any time.
This is especially useful when rigging Bézier paths where you do not need to rig all the tangents: you can either remove the ones you don’t need, or create them later.
To create missing tangents on a Bézier path, select the corresponding tangent in the effects of the layer containing the path, and then click the Bones button.
One bone will be created for each spatial property and for each vertex and tangent of Bezier paths.
Bones can be used to control puppet pins, but also for example the emitter of a particle system, the origin of a lens flare, and any Bezier paths (shapes or masks).
Note
Bones work on Bézier path only in After Effects CC2018 and newer.
When the property is controlled by a bone, you can rig the bone itself, parent it to other layers (and Structures of Duik), etc. which make rigging effects very easy. This is the easiest way to rig a character with the puppet tool of After Effects, or even a way to rig directly the shapes used to draw the character.
Edit Bones
Note
Available in Standard and Expert modes only.
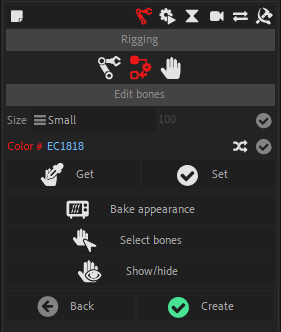
In the additionnal panel of the Bones, you can adjust their appearance.
All changes made in this panel will affect all selected Bones and the creation of new Bones.
-
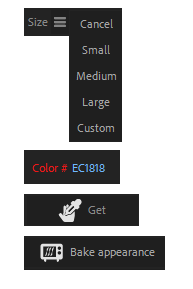
You can change the size of the Bones, either automatically, relative to the size of the composition (small, medium and large options), or with an absolute value (custom option).
-
You can change the color of the Bones: if you click on the colored label, a color picker will be shown, but you can also set your own hexadecimal color code in the text field. A random button will set a random color.
-
You can pick the selected Bone appearance with the Get button, and set the parameters to the selection with the Set button.
-
The Bake Appearance button will remove all expressions used by the Bones to set their appearance. This will improve the performance of the rig, but you will not be able to change the appearance afterwards.